Understanding the roof replacement process helps you make informed decisions, whether you're dealing with aging roof shingles, leaks, or storm damage. That’s why our team at Quality Exteriors has put together this guide covering everything from knowing when repairs won’t cut it to choosing between DIY and professional installation.
Stay on track and avoid surprises — download our roof replacement checklist to make your roof replacement smoother, safer, and stress-free!
How to Know It’s Time for a New Roof (Not Just a Repair)
Roof replacement involves removing your entire roofing system down to the roof sheathing — a bigger commitment than a quick patch. But how do you know when repairs aren’t enough?
Watch for these common warning signs:
- Roof age: Asphalt shingles over 20–25 years old are often due for full replacement.
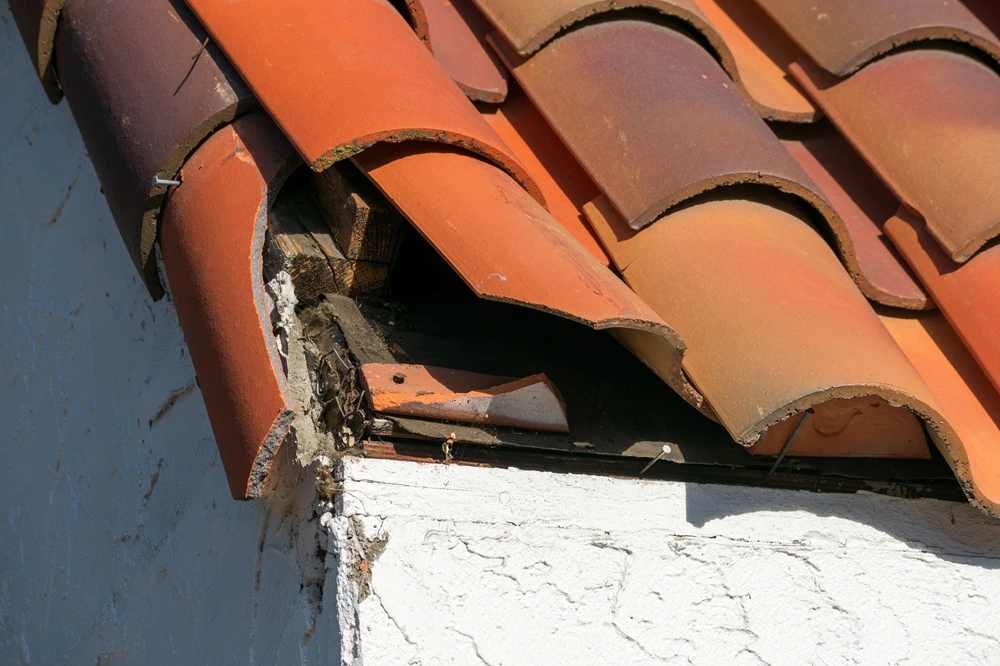
- Widespread shingle damage: Curling, cracking, bald spots, or missing shingles across large areas.
- Structural problems: Sagging, attic water stains, or daylight through old roofing materials.
- Storm damage: Hail dents, wind-lifted shingles, or torn flashing after severe weather.
- Persistent leaks: Recurring leaks even after multiple repair attempts.
- Exposed or rusted fasteners: Popped or rusted nails and flashing weaken your roof’s defense.
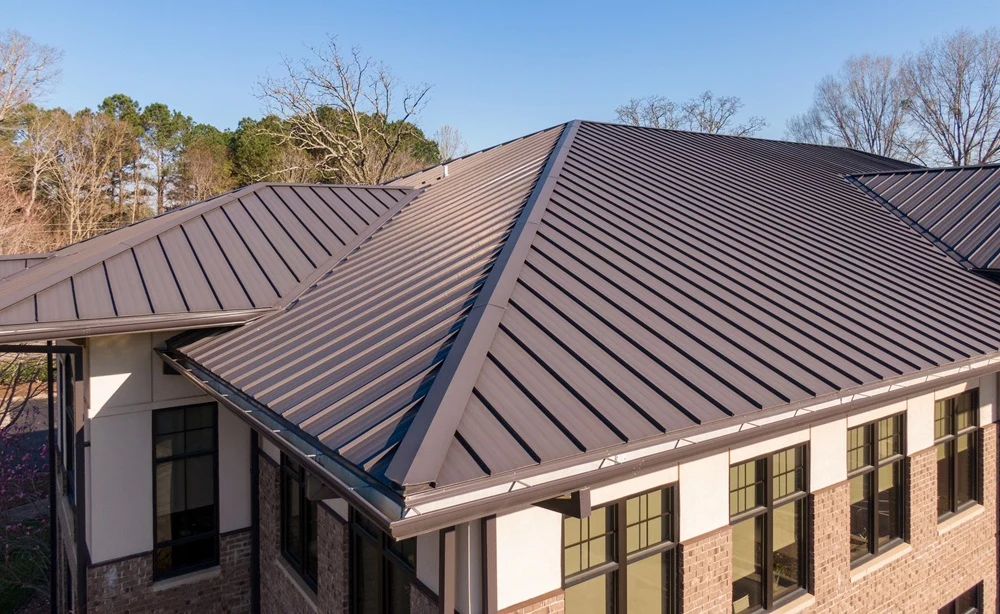
If your roof is showing several of these warning signs, replacing it may save you money, stress, and repairs down the line. This is especially the case if the roof peak or underlying structure is also deteriorating.
Safety Considerations You Can't Ignore
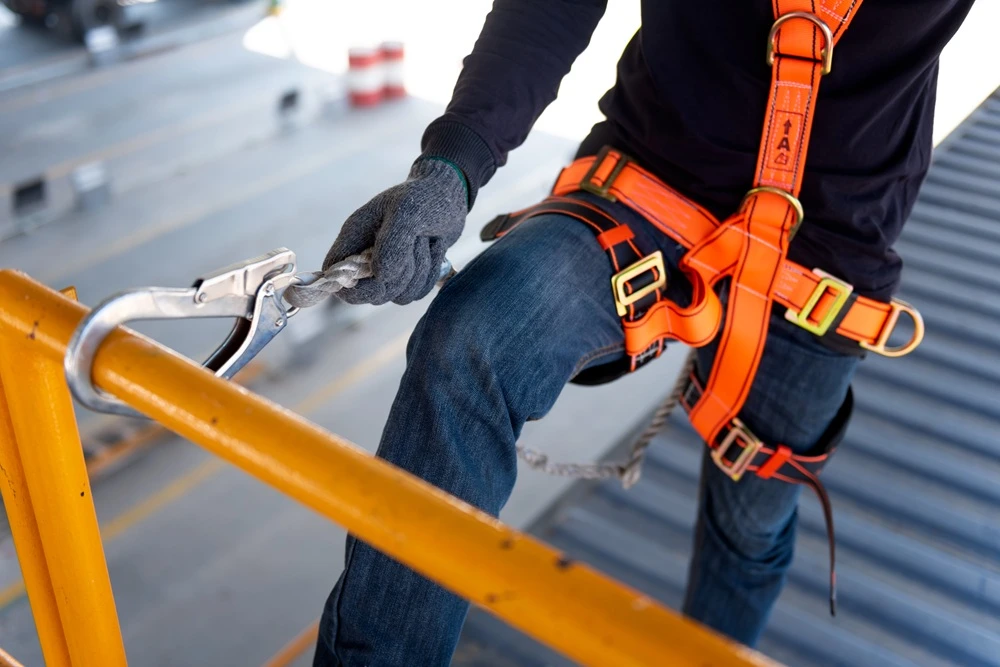
Roof replacement is one of the most dangerous DIY home projects, with falls being the leading cause of serious injury. The better you understand the risks, the easier it is to decide whether to proceed yourself or hire a professional roofer.
Key safety factors to consider:
- Fall protection: Use a full harness system, secure anchor points, and safety ropes — even on low-slope roofs.
- Ladder safety: Most injuries happen while climbing; follow three-point contact rules and never carry heavy loads up ladders.
- Weather conditions: Avoid roofing in wind, rain, or early-morning dew. Slippery surfaces increase fall risk dramatically.
- Physical demands: Roofing is exhausting, and fatigue can lead to poor judgment and higher chances of injury.
- Emergency readiness: Always have a communication plan and someone nearby. Never work alone on a roof.
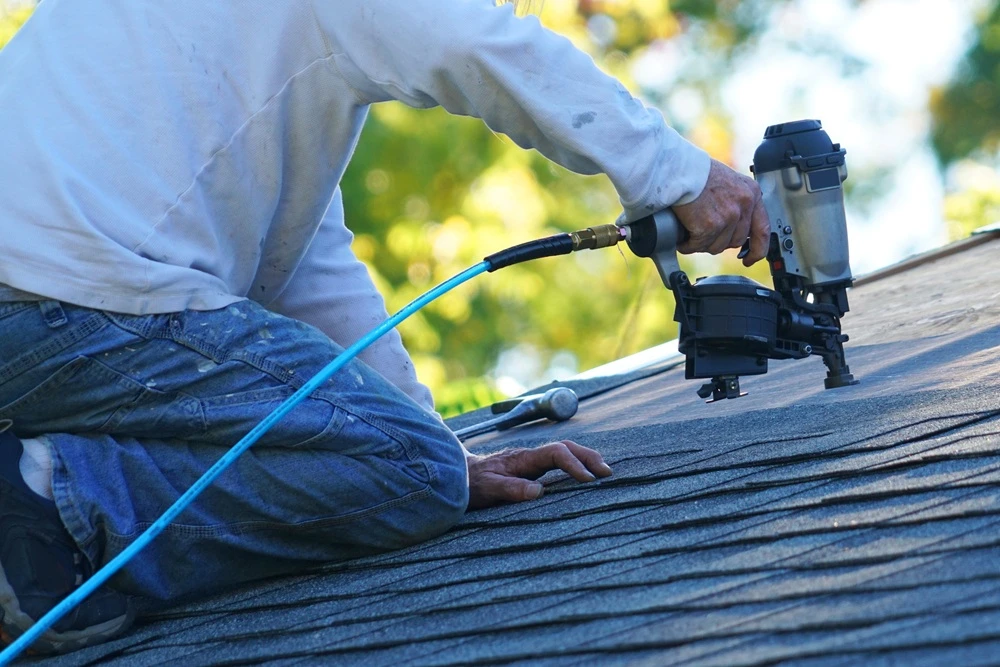
- Tool safety: Nailers, saws, and cords require stable footing and constant awareness, especially when using tools like a pry bar on steep slopes.
These safety considerations aren't just recommendations; they're requirements for protecting yourself and anyone helping with your project.
#cta_here
Essential Tools and Materials
If you're considering the DIY route, here's what you'll need:
Essential materials:
- New roofing material of your choice (calculate square footage plus 10% waste factor)
- Underlayment (roofing paper or synthetic felt paper recommended for superior performance)
- Ice and water shield
- Metal roofing components (if choosing this durable, energy-efficient option)
- Metal drip edge
- Roofing nails (1¼" for standard decking)
- Ridge cap shingles
- Flashing materials
- Roofing cement
Required tools:
- Roofing shovel for removing old shingles during tear-off
- Pneumatic roofing nailer and compressor
- Utility knife with hook blades
- Circular saw for cutting materials
- Chalk line for layout
- Tin snips for flashing work
- Safety harness and equipment
Calculate the materials based on your roof's square footage plus a 10 percent waste factor. Most suppliers can help determine exact quantities based on your roof measurements and design complexity.
Our Step-by-Step Roof Replacement Process
Roof replacement isn’t just about laying new shingles — it’s a complete rebuild of your roof system. Whether you're tackling it as a DIY project or hiring pros, understanding the full process helps you manage expectations, reduce stress, and ensure the job is done right.
Step 1: Obtain Roofing Permits

Before anything else, check local regulations and secure the required permits. Most municipalities require one for full roof replacements, even if you're doing the work yourself.
- Get a roofing permit: In Murfreesboro, you can apply through the Murfreesboro Building & Codes Department, either online or at City Hall. From there, a building inspector will review your application and may require inspections after the tear-off and upon completion.
- Check HOA rules (if applicable): Some neighborhoods may have material or color restrictions.
Step 2: Preparation and Safety Setup
A successful roofing project starts on the ground. Before removing a single shingle, take time to secure permits, prep your property, and minimize risks.
- Safety comes first: Use roof jacks, harnesses, and lifelines, especially on steep slopes. Falls are the leading cause of roofing injuries.
- Weather planning: You'll need 2–4 dry days to complete the project. A sudden storm mid-project can lead to water damage and structural issues that compromise your watertight seal.
- Property protection: Use tarps to shield landscaping, AC units, and walkways from falling debris.
- Inform neighbors: Let nearby homeowners know about your roofing schedule, as the noise and debris can impact them.
Step 3: Tear-Off and Deck Inspection
Start at the ridge and work your way down in manageable sections. This is the most physically demanding step, but also one of the most important.
- Remove all old materials: Strip off shingles, nails, and underlayment to expose the bare roof decking.
- Inspect the roof deck: Look for signs of rot, sagging, or mold. If the decking feels soft or spongy underfoot, replace it before moving forward.
- Secure loose panels: Re-nail or screw down any loose OSB or plywood sheets, ensuring they're properly fastened every few inches along the edges.
🔍 Why this matters: Skipping deck repairs means your new roof is built on a weak foundation, leading to early leaks or shingle failure.
Step 4: Install the Underlayment and Flashing
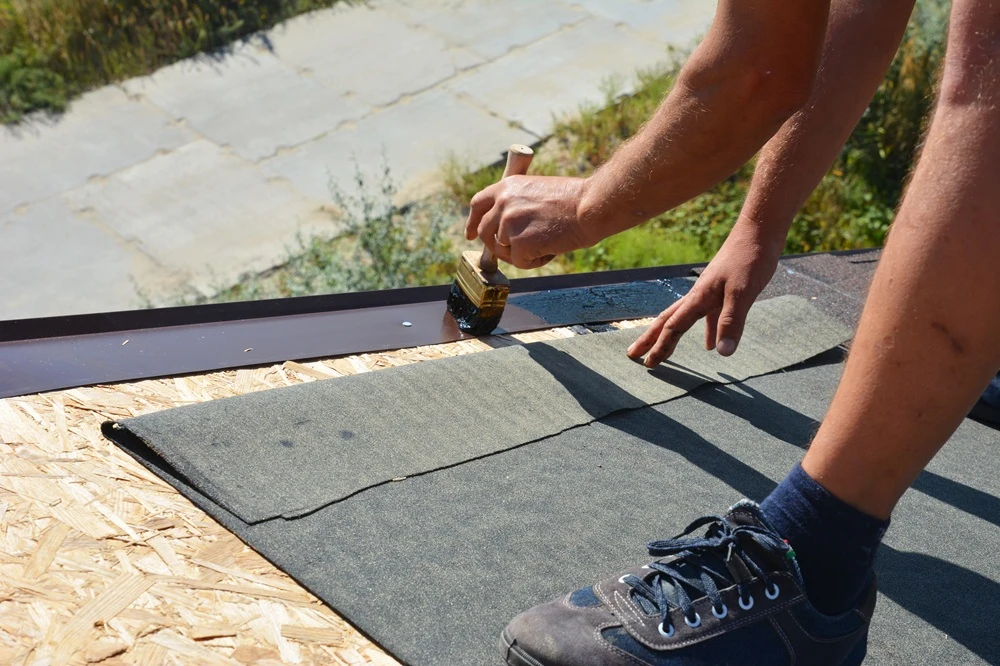
These components create the water-resistant barrier between your home and the elements, so ensure they’re installed precisely.
- Underlayment: Begin at the eaves and roll it out horizontally with a slight overhang. Overlap each course by at least 6 inches and secure it every 12–16 inches, maintaining consistent horizontal distance between fasteners.
- Ice and water shield: Required in many areas, especially around eaves, valleys, and roof penetrations. It self-seals around nails to prevent leaks from ice dams or wind-driven rain.
- Flashing: Install drip edge along the eaves first (under the underlayment), then on rakes (over the underlayment). Install valley flashing where roof planes meet, and use dormer flashing around protruding roof elements. All roof vents and chimneys should be sealed with new flashing to avoid future leaks.
💡 Insight: Most leaks start at flashing points, not in the field of shingles. Take your time and don’t rush.
Step 5: Shingle Installation and Ventilation
Now comes the part most people picture. However, this is only possible if the layers beneath are solid.
- Starter strip and first row: Begin with a starter shingle along the eaves, followed by a full shingle flush at the rake edge.
- Proper nailing: Use 4–6 galvanized roofing nails per shingle. Nail just above the shingle cutouts, and avoid overdriving, which can crack shingles or void warranties.
- Stagger rows: Trim 6 inches from the first shingle of each new row to create a diagonal pattern. This prevents water channels from forming and maintains structural integrity.
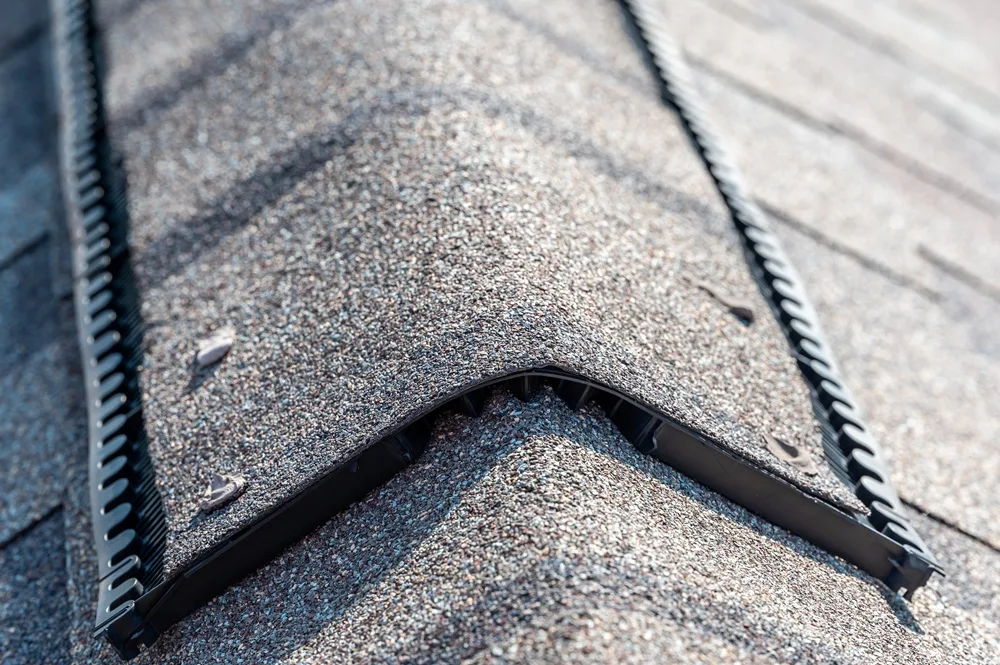
- Install vents as you go: Cut openings for ridge or box vents and make sure they align properly to maintain airflow in the attic.
📏 Tip: Use chalk lines or underlayment markings to stay straight. Crooked rows are especially noticeable at the ridge.
Step 6: Ridge Cap and Final Sealing
Finishing touches protect your roof’s most exposed edge and ensure it performs for decades.
- Install ridge vents if your home requires attic ventilation. Ridge vents allow hot, moist air to escape and reduce the risk of mold and heat damage.
- Apply ridge caps: Use pre-cut caps or cut your own from three-tab shingles. Overlap each piece by 5–6 inches and nail them in place, avoiding exposed fasteners.
- Final inspection: Check for any exposed nails, loose flashing, or improperly seated shingles. Clear debris from gutters and around your property.
🧹 Cleanup reminder: Use a magnetic sweeper to pick up stray nails and screws, especially around driveways and walkways.
DIY or Professional: Can You Replace a Roof Yourself?
The decision between DIY roof replacement and a professional roofing contractor involves weighing costs, safety risks, time investment, and quality outcomes. Understanding the true costs and benefits of each approach can guide your decision.
When to Consider DIY Installation
Installing your roof can save money, but it also requires the right experience, tools, and risk tolerance. This approach isn’t for everyone, but in the right situation, it can be a viable option.
- Construction experience: You have hands-on knowledge of roofing or general construction.
- Simple roof design: Your home is single-story with minimal pitch and no complex features.
- Available help: You have capable helpers and the flexibility to spread the work across days.
- Permit understanding: You’re familiar with local code requirements and secure proper permits.
- Comfort with risk: You’re physically fit, cautious, and understand the dangers of working at heights.
Benefits of Professional Installation
Hiring a professional roofing contractor ensures the job is done safely, efficiently, and to code. Plus, there’s long-term protection built into the process.
- Safety coverage: Crews use proper fall protection and carry liability insurance.
- Installation quality: Certified installers follow best practices that protect your warranty.
- Faster turnaround: Most pro jobs are completed in 1–3 days, which is much faster than weekend DIY efforts.
- Code compliance: Contractors manage permits, inspections, and building regulations.
- Warranties included: Many offer full system warranties covering labor and materials.
- Insurance support: Professionals can document storm damage and help you navigate claims.
Professional installation offers invaluable peace of mind, especially for complex roofs or high-stakes projects.
Protecting Your New Roof Investment: Maintenance Tips
Ongoing care is essential to maximize your new roof’s lifespan and performance. Regular checks and quick responses to small issues can prevent major, expensive repairs later on.
- Initial break-in period: Check for loose shingles, clear leftover debris, and inspect the attic after the first rain.
- Annual inspections: Have a roofer inspect the roof yearly, especially after storms.
- Seasonal upkeep: Clean gutters, trim tree branches, and ensure attic vents stay clear.
- Urgent warning signs: Watch for water stains, missing shingles, sagging areas, or granule buildup.
Consistent maintenance and prompt professional attention to emerging issues are key. This proactive approach helps ensure your roof replacement provides the maximum return on investment through decades of reliable protection.


.avif)
.avif)