What Is Ice and Water Shield and How It Works
Ice and water protector functions as a self-sealing membrane that bonds directly to your roof deck. The adhesive backing creates a waterproof layer that automatically seals around any penetrations, including nails, screws, and fasteners. Thanks to this technology, your roof maintains its water protection throughout years of thermal expansion, contraction, and weather exposure.
The membrane's rubberized asphalt construction allows it to flex with your roof's natural movement while maintaining a complete seal. When properly installed on the roof deck, this barrier prevents water from reaching the wooden surface, even if roofing materials like asphalt shingles become damaged or displaced during storms.
This protection addresses two common roofing problems:
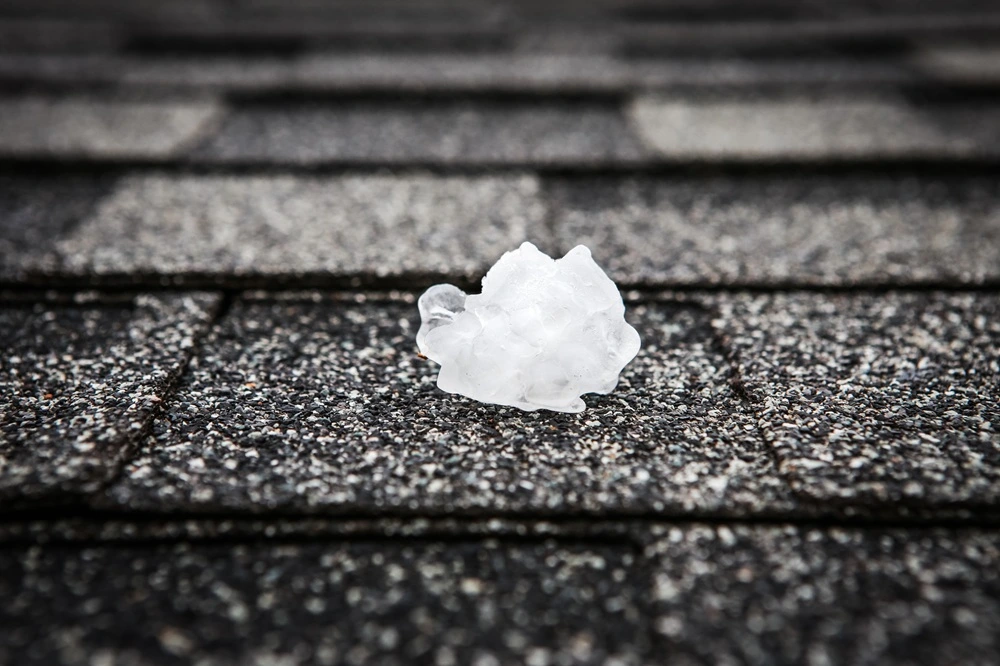
- Ice dams: Formed when melting snow refreezes at eaves and rake edges, forcing water back under shingles where it penetrates standard roofing materials and reaches the roof deck.
- Wind-driven rain: High winds push water horizontally under asphalt shingles and through gaps that normally drain, making a waterproof barrier essential to prevent leaks and protect the roof deck.
Types of Ice and Water Shield: How to Choose the Right Protection
There are three main types of ice and water protector options, all serving different applications and budgets. Each has distinct features for specific roofing materials:
Granular Surface Shield
This is the budget-friendly, all-purpose option most homeowners see in standard roof replacements. It’s typically installed in valleys and around penetrations where leaks are most likely. The rough texture provides traction for roofers — especially helpful on steep slopes — and it adheres reliably to OSB and plywood decks. However, it’s not ideal for low-slope roofs where standing water can strain seams over time.
Smooth Surface Shield
A smooth shield offers thicker, more flexible protection and is designed for roofs where water drains more slowly. Its slick surface prevents ponding water from seeping through weak spots, making it the go-to for low-slope roofs, dormers, or areas with complex runoff patterns. It bonds especially well to clean, dry plywood decks and creates a continuous waterproof layer under shingles.
High-Heat Shield
This is the premium option built for performance on tile or metal roofs. Unlike standard membranes, a high-heat shield is reinforced with materials that tolerate extreme expansion and contraction cycles, common in Tennessee summers when metal panels can heat rapidly during the day and cool at night. It also resists adhesive “melting”, which protects your roof system’s integrity for decades.
Where Ice and Water Shield Is Required on Your Roof
Strategic placement is key to preventing most leak problems while keeping costs reasonable. Local building codes may require an ice and water protector in certain areas, particularly in cold climates, where ice dams commonly form.
Critical Protection Areas
Installation should focus on these locations where water infiltration risks are highest:
- Eaves and rake edges: Horizontal bottom and diagonal side edges where water accumulates during heavy rains or gutter overflow, creating a risk of backup under the first shingle course.
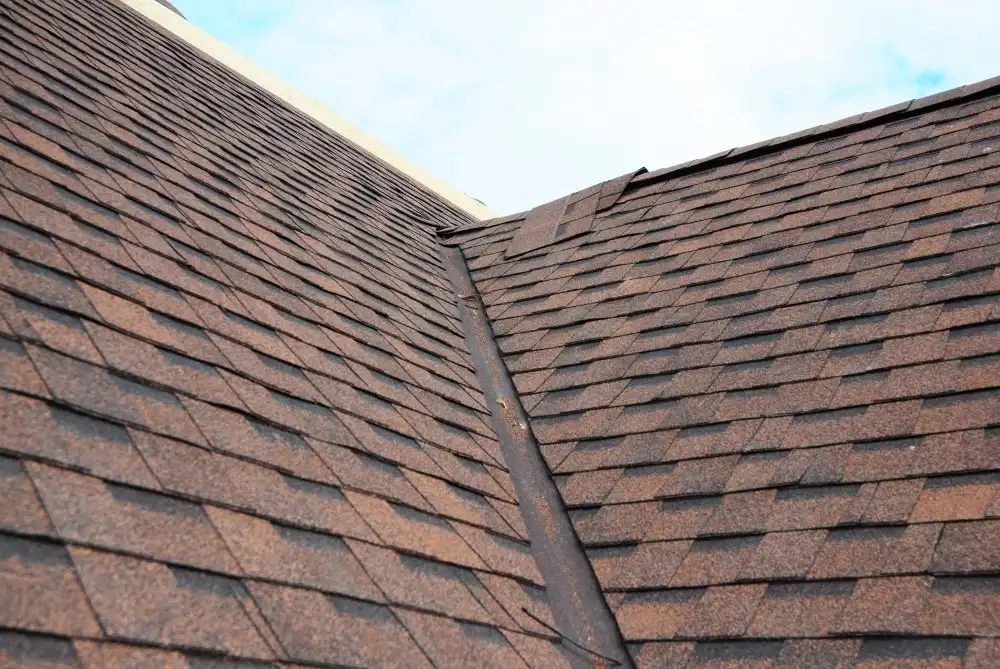
- Roof valleys: Interior angles where two roof planes meet and water flows heavily, creating backup points during storms that overwhelm standard roofing materials.
- Around penetrations: Areas around chimneys, vent pipes, and skylights where flashing may not offer full protection against leaks reaching the roof deck.
- Low slope roofs: Roof areas with less than 4:12 pitch, where water drains slowly and has more chances to enter through roofing materials.
When Entire Roof Coverage Makes Sense
In some situations, it makes more sense to install ice and water protector across your entire roof surface:
- Complex roof lines: Homes with multiple valleys, dormers, and intersections that create many leak points requiring comprehensive water protection.
- Storm-prone areas: Locations with frequent severe weather that test roofing systems beyond limits, requiring superior water protection.
- Premium materials: High-end roofing projects where maximum protection justifies extra investment in full ice and water shield coverage.
- Historical problems: Properties with recurring leak issues unresolved by standard methods, requiring complete roof deck coverage.
#cta_here
Integration with Your Complete Roofing System
Ice and water protector isn’t a standalone product; instead, it works within a complete roofing system. The better you understand the installation sequence, the easier it is to verify that the job is executed properly and the roofing materials are working together effectively.
Here is the order of the installation process:
- Old roof tear-off: Removing shingles and underlayment exposes the roof deck for inspection and repairs to damaged or rotted areas.
- Drip edge installation: Metal strips at eaves direct water away from fascia and create a clean edge for new materials.
- Ice and water shield: Applied to high-risk areas like eaves, valleys, and penetrations where leaks are most likely.
- Underlayment: Covers the remaining roof deck with felt or synthetic material to protect areas not shielded by ice and water protector.
- Shingles and flashing: Final installation of shingles and metal flashing around chimneys and vents prevents leaks and completes the roof.
When reviewing quotes, ask contractors to specify their planned ice and water shield locations. Roofing basics principles require reputable roofers to include this protection as standard practice for high-risk areas where building codes may require better water protection.
Cost vs. Value: Smart Investment in Roof Protection
Investing in ice and water protector is smart, especially when you calculate the costs versus potential damage. Here's how the numbers typically work out:
This protection also helps maintain a clean insurance claims history, and understanding when to file a roof insurance claim becomes important when water damage occurs. Many adjusters recognize homes with comprehensive water protection systems, which can positively impact future premium calculations. Consider how the investment pays off through prevented repairs, maintained property values, and invaluable peace of mind during severe weather events, where it’s common for standard materials to fail.
Signs Your Roof Needs Better Water Protection
Watch for these indicators that your current roof lacks adequate water protection. In these scenarios, consider scheduling a professional roof damage inspection to assess problem areas:
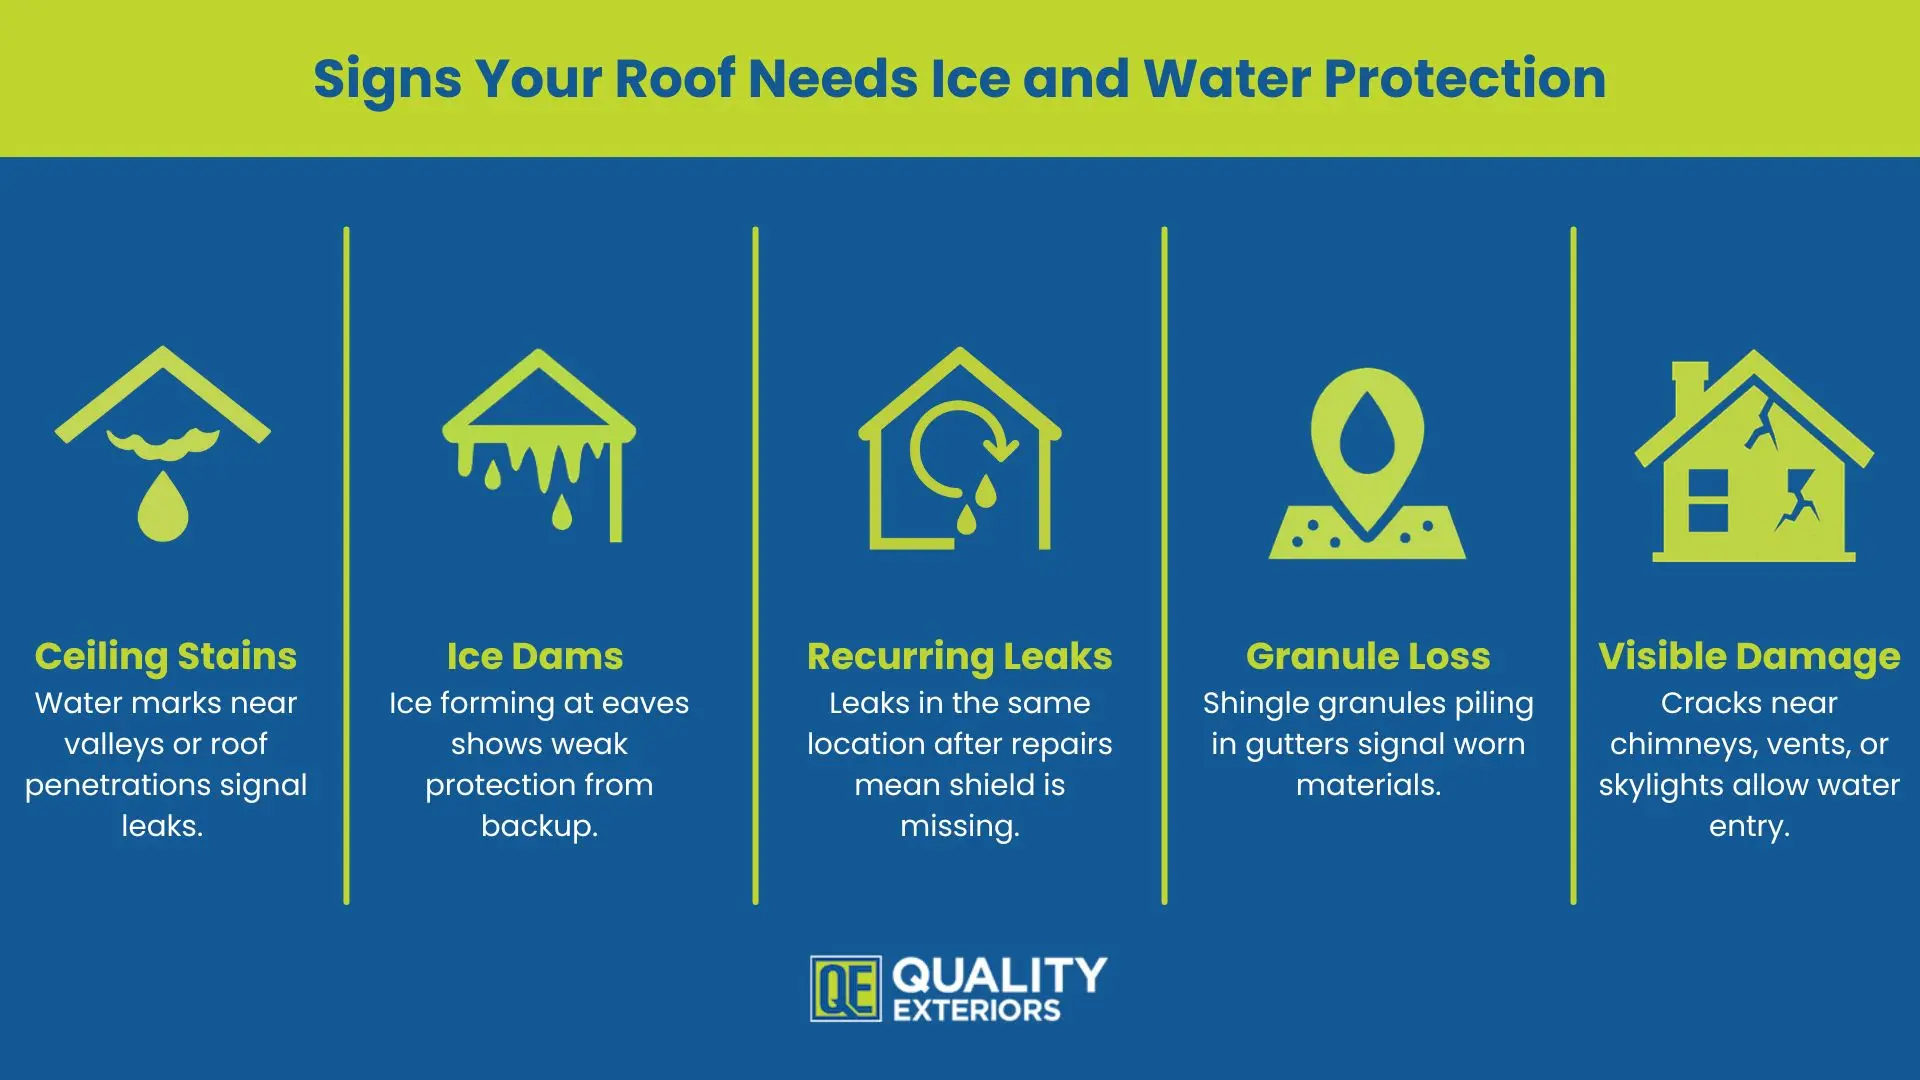
- Ceiling stains: Water marks on ceilings near valleys or penetrations where ice and water shield should be installed.
- Ice formation: Ice dams along eaves and rake edges in winter show inadequate protection against snow and ice backup.
- Recurring leaks: Repeat leaks in the same spots after repairs suggest the roof deck needs ice and water shield.
- Granule loss: Excessive shingle granules in gutters after storms signal compromised materials needing added protection.
- Visible damage: Damaged areas around chimneys, vents, and skylights show flashing and shield installation could prevent leaks.
Ice and water shield is a small but powerful upgrade that protects your roof’s most vulnerable areas from expensive leaks and water damage. Homeowners can invest in targeted coverage and proper installation to gain lasting peace of mind and stronger protection against storms, ice, and heavy rain.
Professional Installation: Why Technique Matters
Proper installation is essential; it determines whether ice and water shield performs as intended. The roof deck must be completely clean and dry before application, and installers must follow specific procedures for optimal adhesion to prevent leaks.
Key installation factors include:
- Weather conditions: Installing ice and water protector requires dry conditions within the manufacturer's temperature specifications to ensure proper adhesion.
- Surface preparation: Complete removal of debris, old adhesive materials, and moisture from the roof deck surface before applying the membrane.
- Proper overlap: Correct side and end lap measurements ensure continuous waterproof coverage without gaps that could allow leaks.
- Adhesion verification: Checking that the self-sealing membrane bonds completely to the deck surface and around fasteners.
Professional installation is worth it as it ensures your ice and water shield investment provides the protection you're paying for. Experienced contractors understand these details and verify proper installation at each step to prevent future leaks.