Roof Flashing Fundamentals
Roof flashing is a thin, waterproof material installed at roof transitions to direct water away from vulnerable areas. This component creates weatherproofing for spots where roof shingles can't seal on their own.
The Role of Flashing in Your Roofing System
Flashing prevents water from entering your home at roof penetrations and intersections. When installed correctly, this thin metal layer channels water away from critical areas to protect your roof deck and interior from moisture damage.
The material works by creating overlapping layers that guide water flow. Each piece captures water running down the roof surface and safely redirects it to the gutters. Flashing flexes slightly to accommodate natural expansion and contraction from temperature changes, maintaining a watertight seal year-round.
Here's why roof flashing is important:
- Prevents structural damage: Water intrusion causes rot in roof decking and framing lumber, compromising your home's structural integrity over time.
- Stops mold growth: Moisture trapped behind walls or in attic spaces creates ideal conditions for mold, affecting both building materials and indoor air quality.
- Protects insulation: Wet insulation loses its effectiveness, increasing energy costs even before visible damage appears.
- Extends roof lifespan: Proper flashing protects vulnerable areas that experience the most water exposure, improving the lifespan of your entire roofing system.

Where Roofing Flashing Gets Installed
Every roof has multiple points where different surfaces meet or objects penetrate the roofing material. These transitions need specialized protection since standard shingles can't create complete seals at these locations.
- Chimney perimeters: Multiple flashing types work together around chimneys, with base flashing securing the bottom edge and counter flashing protecting where metal meets masonry.
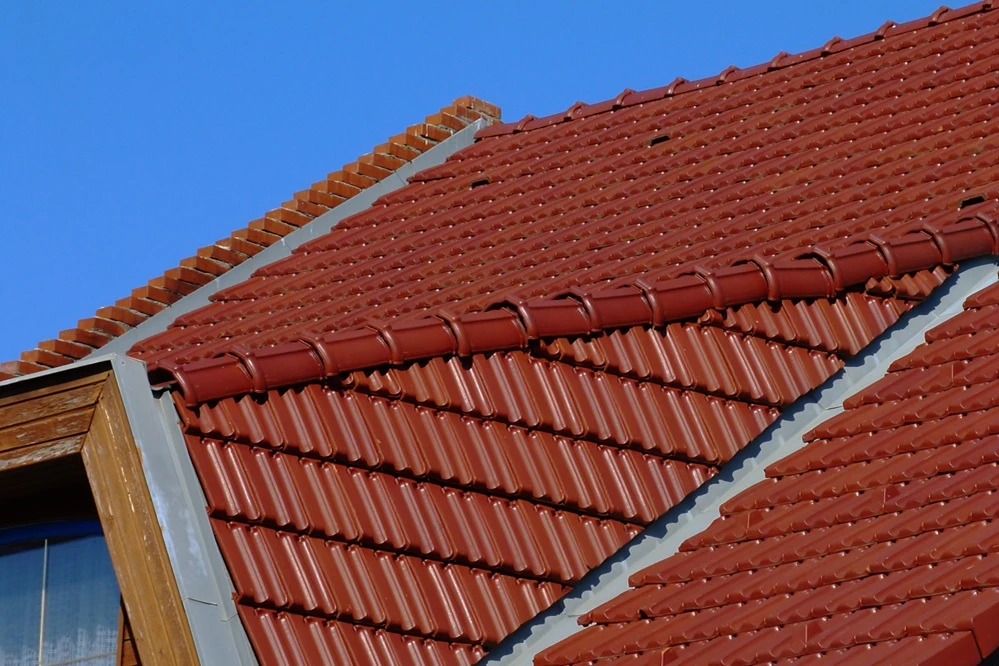
- Roof valleys: Where two roof planes meet at an angle, valley flashing prevents water from seeping through the joint as it flows downward.
- Vent pipes: Plumbing vents penetrate your roof surface, requiring specialized boot-style flashing that wraps around the pipe's diameter.
- Skylights: Custom-fitted flashing surrounds the entire skylight frame, creating a weatherproof barrier between the window unit and roofing material.
- Wall intersections: Step flashing protects where a sloped roof meets a vertical wall, with individual pieces layered beneath each course of shingles.
- Roof edges: Drip edge flashing runs along the perimeter to direct water away from fascia boards and into gutters.
In Middle Tennessee, we see the most flashing failures around chimneys and roof valleys after severe storms. Heavy rain combined with wind-driven debris can compromise poorly installed or aging flashing, resulting in interior leaks.
Materials Used for Roof Flashing
Selecting the right flashing material affects both installation cost and long-term performance. Each option offers distinct advantages depending on your roof type, local climate, and budget.
Metal Options for Flashing Installation
Metal remains the most popular choice for roof flashing across Middle Tennessee homes. These metal materials offer proven durability and work well with various roofing systems.
- Aluminum flashing: Lightweight and resistant to rust, aluminum works well for most residential applications. It’s easy for professional roofers to cut and shape it during installation, though it's softer than steel and can dent more easily.
- Galvanized steel flashing: This cost-effective option provides excellent durability with a protective zinc coating. Galvanized steel handles foot traffic better than aluminum, but it will eventually rust if the coating wears through.
- Copper roof flashing: Premium projects often use copper for its exceptional longevity and distinctive appearance. Copper flashing can last 50+ years and develops an attractive patina over time, though it costs significantly more than other metals.
- Lead flashing: Extremely malleable and long-lasting, lead works particularly well for complex roof features. However, environmental concerns and higher costs have made it less common in residential roofing.
Most Middle Tennessee homes perform well with aluminum or galvanized steel, reserving copper for high-end projects or historic restorations where appearance and function are equally important.
Synthetic Flashing Materials
Modern rubber and composite materials offer flexibility that metal can't match. These materials work especially well for curved surfaces and irregular penetrations, though they typically don't last as long as quality metal flashing.
Important note: Synthetic flashing performs better in Tennessee's temperature fluctuations since it expands and contracts more gradually than metal, reducing stress on attachment points.
Types of Roof Flashing You Should Know
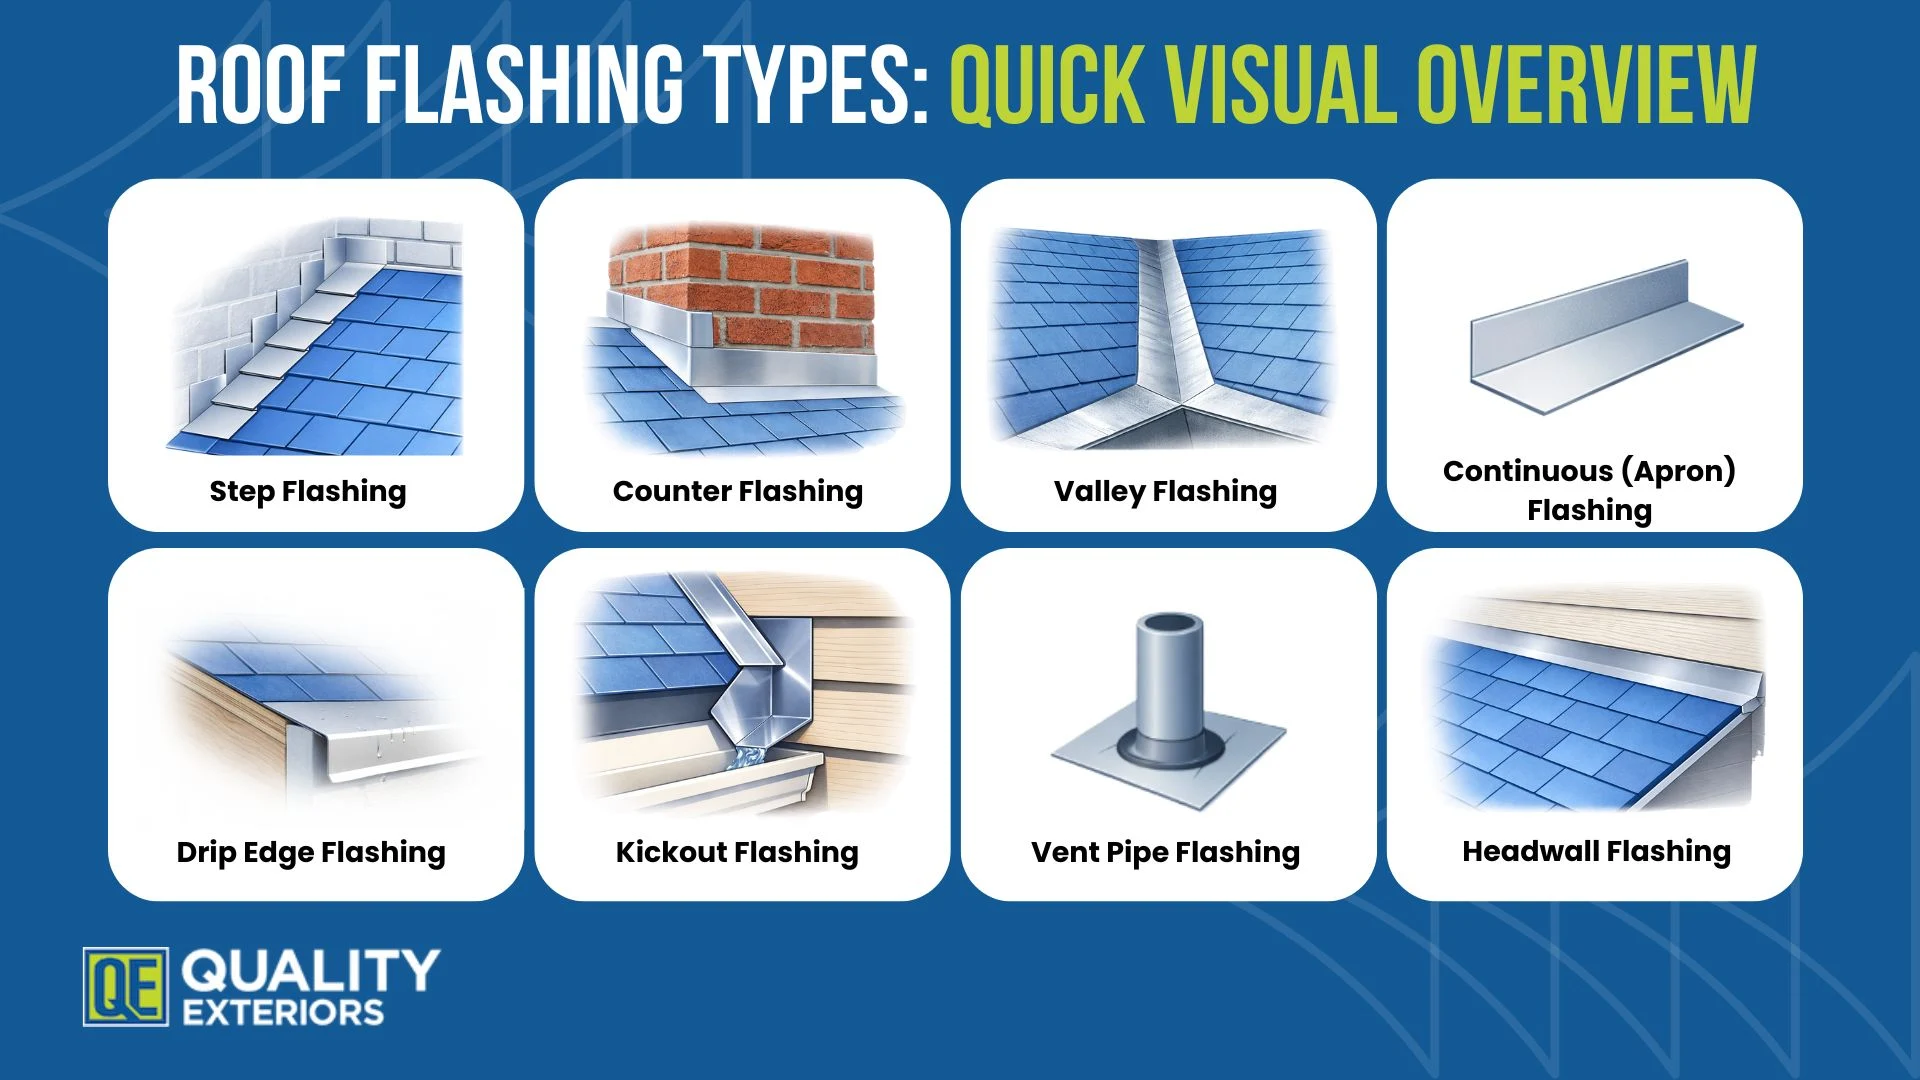
Different roof features need specific flashing styles designed for their unique challenges. Proper installation requires selecting the right type of vent for each specific location.
Step Flashing
Individual L-shaped pieces layer up walls and dormers, with each section tucked beneath a shingle course. This creates a shingled water barrier that moves with your roof, preventing leaks at vertical surfaces while allowing for normal expansion.
Counter Flashing
This two-part system works with step flashing at chimneys and walls. Base flashing attaches to the roof surface, while counter flashing embeds into mortar joints that cover the top edge below.
Valley Flashing
Roof valleys concentrate water flow, making them prime locations for leaks. This flashing runs the entire valley length, channeling water safely to gutters. Understanding common roof problems helps homeowners recognize when valley flashing needs attention.
Continuous Flashing (Apron Flashing)
Long, unbroken pieces protect horizontal joints where the roof meets a wall. This style works well for shed dormers and similar features, though it can't accommodate much building movement.
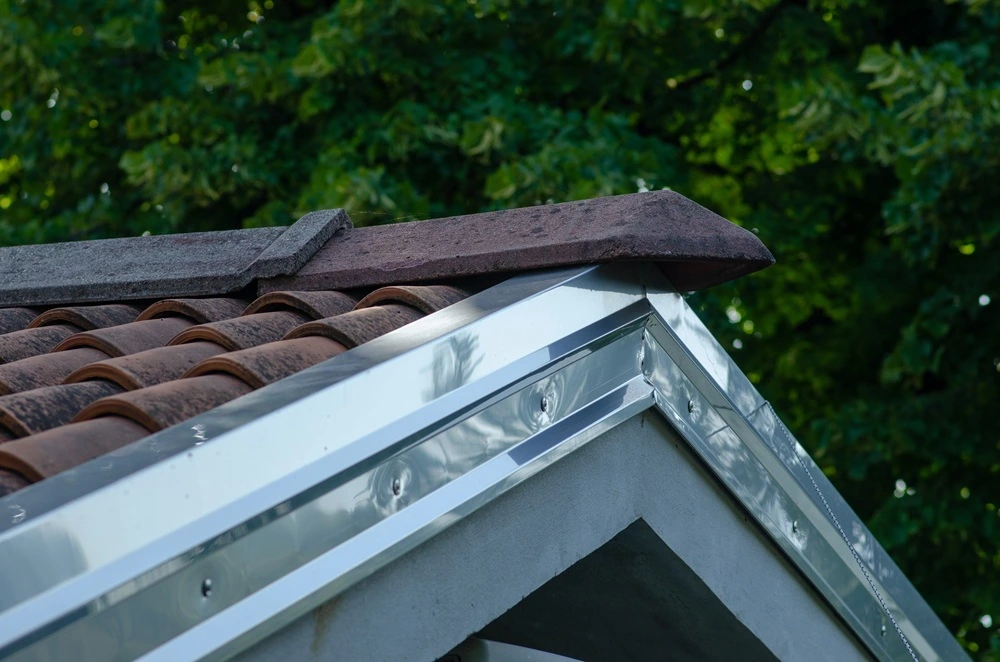
Drip Edge Flashing
Installed along roof edges, this L-shaped profile directs water away from fascia boards and into gutters while providing a clean, finished appearance. Drip edge also helps prevent wind-driven rain from working under shingles.
Kickout Flashing
Where a roof edge meets a vertical wall, kickout flashing redirects water away from the wall and into the gutter system. This small but critical component prevents water from running down the siding and causing rot.
Vent Pipe Flashing
Plumbing vents require specialized flashing with a rubber boot or lead sleeve that seals around the pipe, while the base integrates with surrounding shingles. The flexible collar grips the pipe's diameter to create a watertight seal.
Headwall Flashing
At the top of a roof slope where it meets a wall, headwall flashing tucks under siding and extends over shingles. This placement ensures water flowing down the wall doesn't seep behind the roofing system.
Each flashing type serves a specific purpose in your roof's defense against water. When our team inspects roofs after storm damage, missing or damaged flashing ranks among the top causes of leaks in Murfreesboro homes.
#cta_here
How to Put Flashing on a Roof
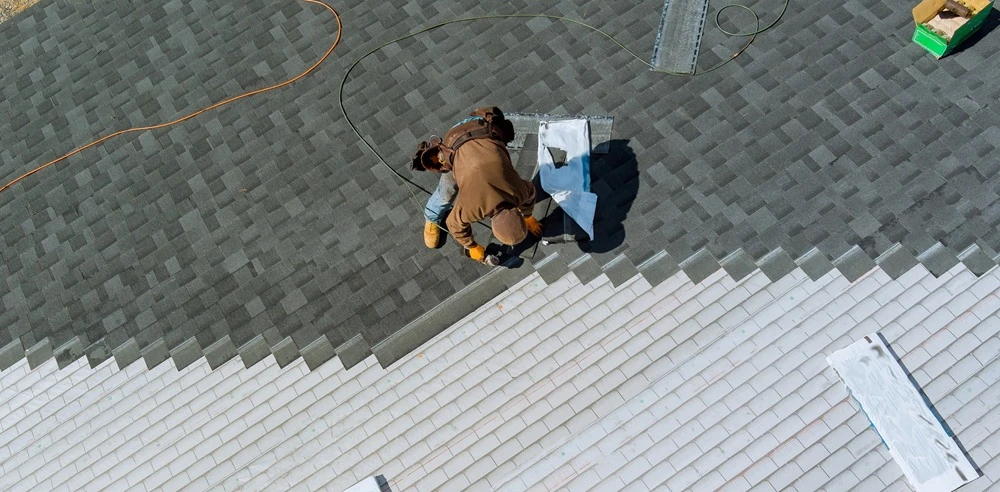
Precision and knowledge of proper layering techniques are at the forefront of installing roof flashing. The process follows a straightforward principle: each piece must overlap correctly and integrate with surrounding roofing material to create an effective water barrier.
- Prepare the surface. Remove old flashing carefully, checking the roof deck underneath for water damage or rot. Any compromised decking needs replacement before new flashing goes in. Clean the installation area thoroughly, removing debris and old roofing cement.
- Position the first piece. Start at the lowest point of the area being flashed. The bottom edge of the flashing material sits on top of the shingles below, while the next course of shingles will completely cover the upper portion.
- Secure with fasteners. Use roofing nails or screws to attach the flashing, placing fasteners through the upper portion that the next layer will cover. No exposed nail heads should remain on visible flashing surfaces.
- Apply sealant. Add roofing cement or specialized sealants at overlaps and edges, using just enough to create waterproof bonds without excess that could trap water.
- Layer subsequent pieces. Each new piece overlaps the one below it, just like shingles. Water flows downward, so upper pieces always layer over lower ones, preventing moisture from working backward under the material.
- Integrate with roofing material. As you progress up the roof, weave flashing pieces with shingle courses so each component supports the other in shedding water.
Important note: Tennessee's freeze-thaw cycles can affect flashing attachment points, so proper installation techniques that account for seasonal movement are critical for long-term performance.
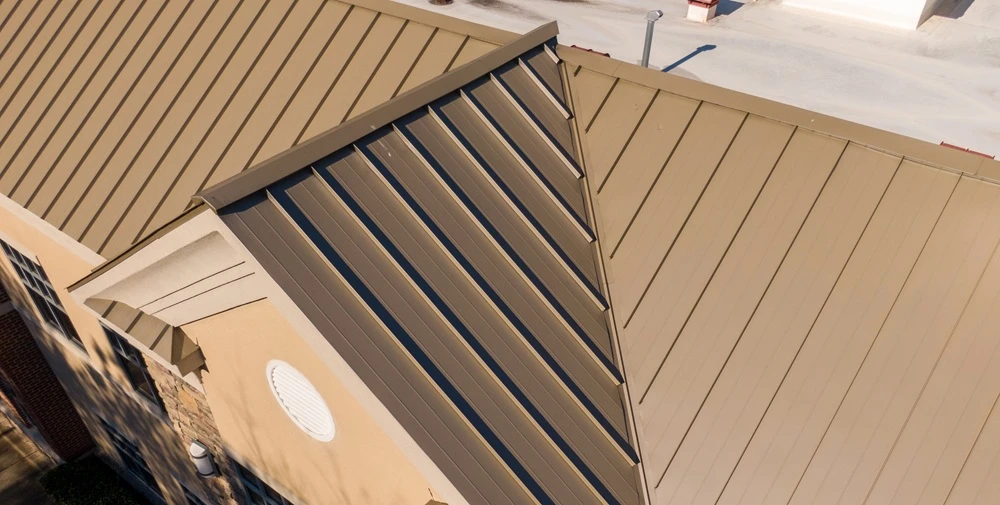
Professional roofers understand how different roofing materials interact with flashing. Asphalt shingle roofs require different techniques than metal roofing systems, especially regarding thermal expansion and attachment methods.
Repair Roof Flashing or Replace It?
Deciding between repair and replacement depends on the extent and type of damage your flashing has sustained. Learning how to find roof leaks helps identify flashing problems before they cause extensive damage.
- Repair makes sense when: Small isolated holes can be patched effectively, loose pieces can be re-secured with new fasteners, failed sealant can be cleaned and refreshed in limited areas, or damage affects less than 20% of the total flashing.
- Replace flashing when: Widespread corrosion affects multiple areas, the material is 20+ years old regardless of visible condition, multiple sections show different types of damage, or structural changes require updated flashing configurations.
Important note: DIY flashing repairs often create more problems than they solve, since improper techniques can channel water into new areas.
Any visible water stains on ceilings near chimneys, walls, or roof valleys indicate flashing problems that should be inspected by a professional immediately. We replace flashing as part of most roof replacement projects, since new shingles deserve equally fresh protection underneath.
When to Call a Professional
If you see visible water stains on ceilings near chimneys, walls, or roof valleys, these indicate flashing problems that require immediate professional inspection. Don’t wait to take action, as small repairs can turn into extensive interior damage restoration projects.
At Quality Exteriors, we replace flashing as part of most roof replacement projects, since new shingles deserve equally fresh protection underneath. Mixing old flashing with new roofing material creates mismatched lifespans and potential failure points.
How Much Does Roof Flashing Cost?
Flashing represents a relatively small portion of total roofing costs, yet it provides outsized protection value. Basic repairs typically run $200-500 for single areas, while complete chimney flashing replacement costs $800-1,500, depending on size and complexity. Valley flashing replacement averages $400-800 per valley, and vent pipe flashing runs $150-300 per pipe. Several factors influence final pricing, including roof pitch, building height, material choice, and architectural complexity.
In Middle Tennessee, most insurance claims for storm damage include flashing replacement when hail or wind has caused visible damage. Quality installation costs more upfront but prevents expensive water damage down the line; a single interior leak can require thousands in repairs to ceilings, walls, and insulation.