Installing a standing seam metal roof requires precise measurements, specialized tools, and careful attention to thermal movement. While some homeowners consider DIY installation, the complexity of proper panel alignment, flashing integration, and clip placement often determines whether a roof performs as intended.
Tools and Materials for Standing Seam Installation
Preparing your materials and equipment ahead of time saves time and prevents mid-project delays.
Required Roofing Materials
- Metal panels in lengths matching your roof dimensions
- Synthetic underlayment for moisture protection
- Ridge caps, drip edge, rake trim, valley trim, and wall flashing
- Clips and fasteners for panel attachment
- Butyl tape for sealing joints and trim connections
- Ice and water shield for vulnerable areas
Essential Tools
- Metal brake for bending panels and trim
- Hand seamers to lock panels together
- Aviation snips for clean metal cuts
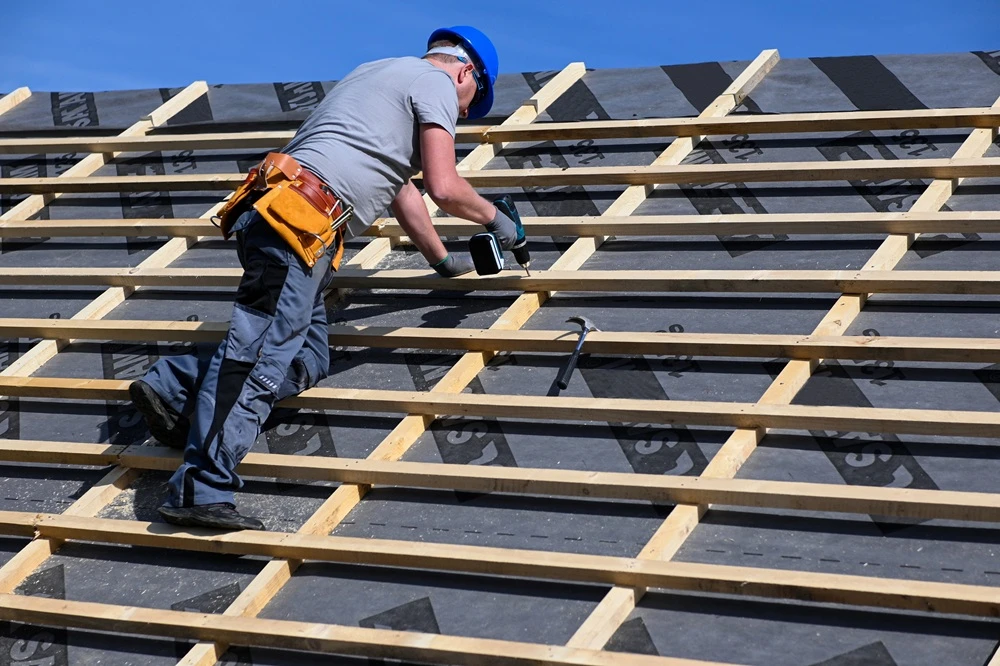
- Screw gun with adjustable clutch
- Chalk line and measuring tape
- Safety harness, non-slip footwear, and gloves
Step 1: Prepare Your Roof Deck
The roof deck is the foundation for your standing seam roofing system, and preparation directly affects long-term performance.
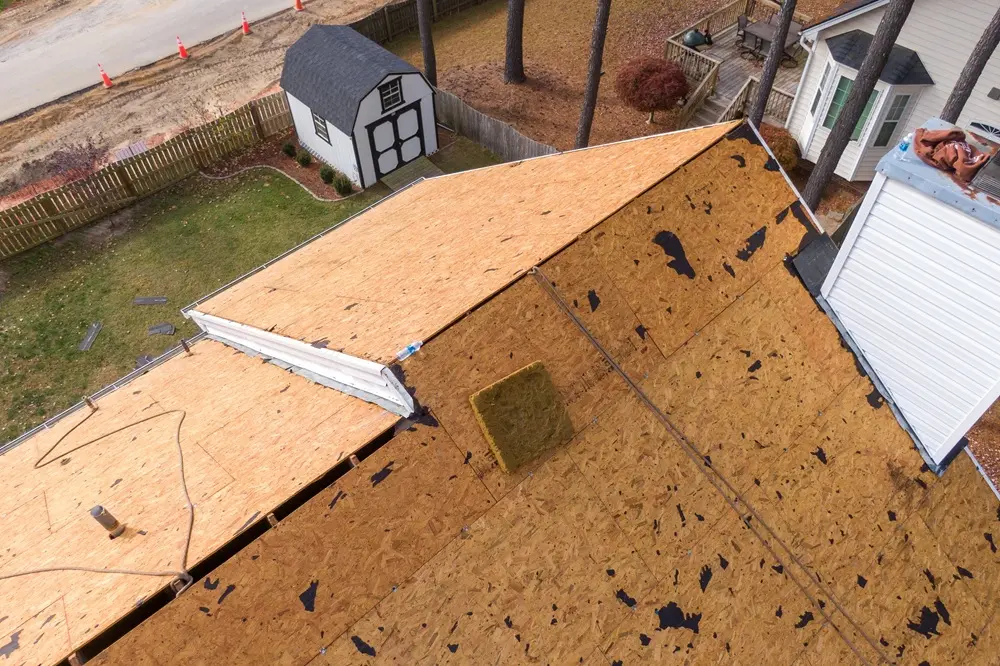
Remove Old Materials
Strip away existing metal or asphalt shingles, underlayment, and damaged decking. Look for rot around chimneys, valleys, and eaves where water damage concentrates. Most standing seam systems require plywood or OSB decking rather than spaced sheathing to provide the right support for clips and prevent oil canning.
Install Ice and Water Shield
Apply ice and water shield along eaves, valleys, and around penetrations. This self-adhering membrane creates secondary protection against water infiltration during ice dams and wind-driven rain. Tennessee building codes require underlayment coverage across the full roof deck. Roll out synthetic underlayment horizontally, overlapping each row by at least 6 inches and securing with staples every 12 inches along seams.
Verify Roof Pitch
Standing seam metal requires a minimum 3/12 pitch for proper water runoff. Steeper pitches drain water quickly but make installation more challenging and require extra safety precautions.
Step 2: Install Drip Edge and Starter Trim
Trim pieces frame your roof and guide water away from vulnerable areas.
Drip Edge Installation
Attach a drip edge along the eaves before laying underlayment, extending it beyond the fascia to direct water into the gutter system rather than behind it. Overlap sections by 2 inches and seal joints with butyl tape. At the rake edges, install a drip edge over the underlayment to help water flow properly.
Rake Trim Setup
Position the rake trim along the gable ends to allow the panels to expand thermally while still maintaining a clean aesthetic. Most systems need a small gap between the panel and trim to accommodate movement without buckling.
Step 3: Calculate Panel Layout and Place First Panel
The first panel sets the alignment for your entire roof, so accuracy is essential.

Calculate Panel Layout
Measure your roof width and divide by the panel coverage to avoid narrow panels at either edge. Mark a chalk line parallel to the rake edge, positioned one panel width from the edge. This line guides first panel placement and helps maintain straight rows across the entire roof.
Position the First Panel
Place the first panel along your chalk line with the female edge facing the rake. The panel should extend beyond the drip edge by about 1 inch to ensure proper drainage. Take your time to square the panel to the eaves using a framing square, as this placement determines the alignment of every subsequent panel.
Secure the panel using clips placed every 16 to 24 inches along the panel length. The clips attach to the roof deck through pre-drilled holes, allowing the panel to slide as it expands and contracts. Never drive fasteners through the flat surface of standing seam panels, as this eliminates thermal movement capability and can lead to exposed fasteners that eventually fail.
#cta_here
Step 4: Install the Remaining Panels
Work across the roof one panel at a time, checking alignment after every few panels to catch drift before it compounds.
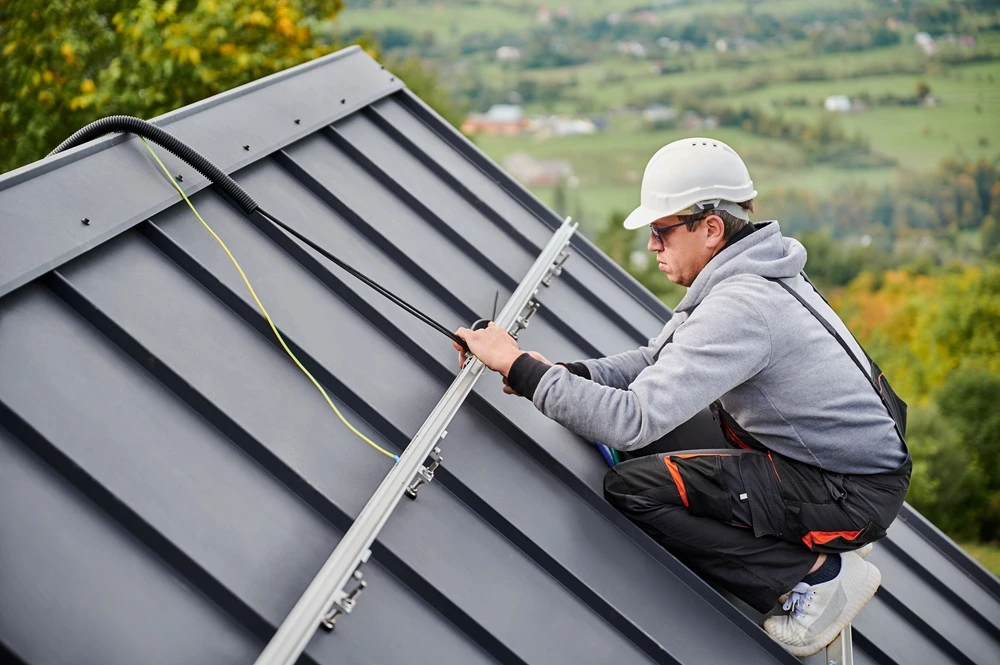
Panel-by-Panel Process
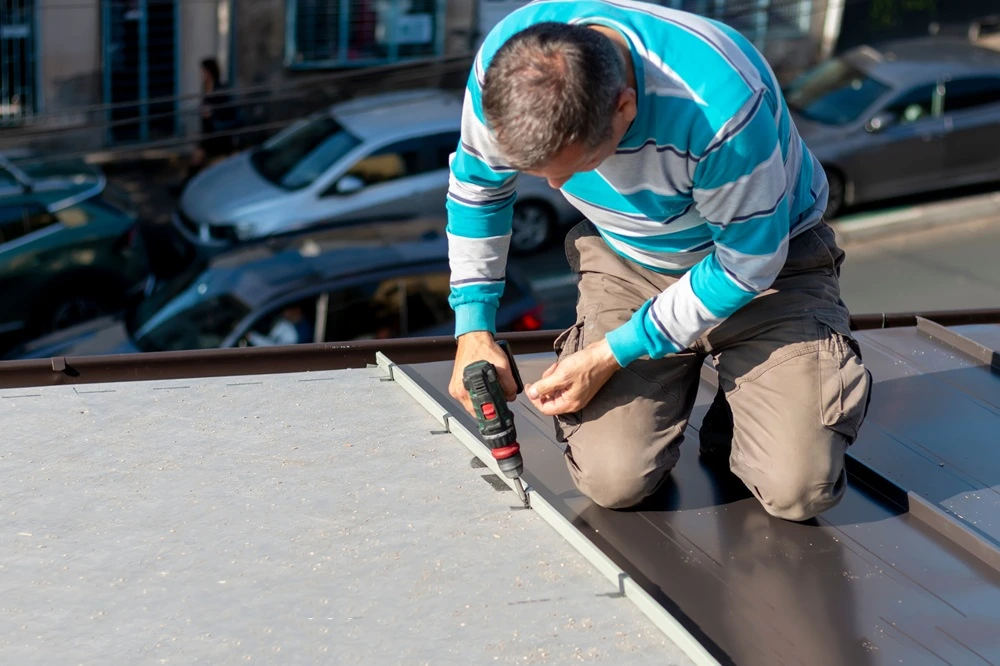
Position each panel so its male leg interlocks with the female edge of the previous panel. Snap-lock systems click into place, while mechanical-lock systems require hand seamers to fold the two edges together. Apply consistent pressure along the full length of the seam to ensure there aren’t gaps that allow water infiltration.
Install clips along the male leg according to standing seam metal roof installation instructions, typically spacing them 16 to 24 inches apart. In high-wind areas, reduce spacing to 12 inches for better wind uplift resistance. Each clip attaches to the roof deck with screws driven into solid sheathing, allowing the metal roofing materials to expand and contract naturally.
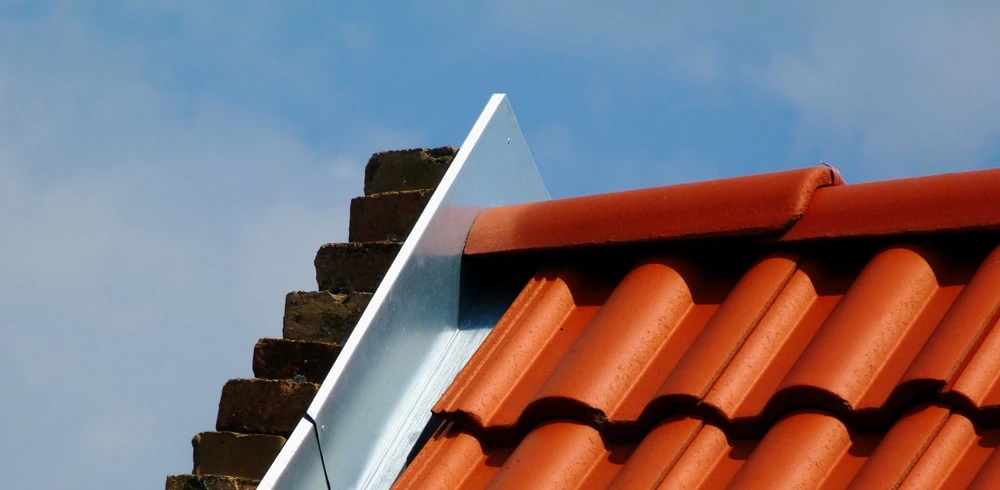
Handle Valleys and Penetrations
Valley trim installation occurs before roof panels reach the valley area, with trim extending at least 8 inches on either side of the centerline. Cut metal panels to fit the valley angle and leave a small gap for thermal expansion. Then, seal the cut edges with approved sealant to prevent corrosion from exposed metal.
Penetrations like skylights and chimneys require careful flashing work before installing adjacent standing seam panels. The flashing extends under upslope panels and over downslope panels to maintain proper water runoff, with butyl tape applied along all flashing edges where they meet metal panels.
In our experience, we've noticed that Middle Tennessee homeowners often underestimate flashing complexity, as water infiltration around these areas accounts for most metal roof leaks from inadequate overlap or missing sealant.
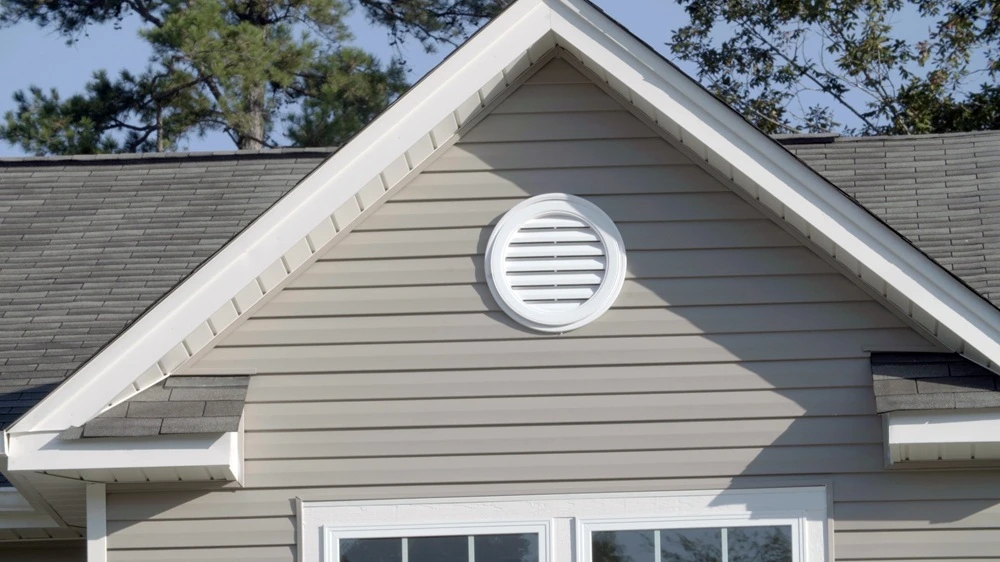
Step 5: Complete Ridge Caps and Finishing Details
The ridge cap protects the roof peak and provides ventilation when designed with ridge vents.
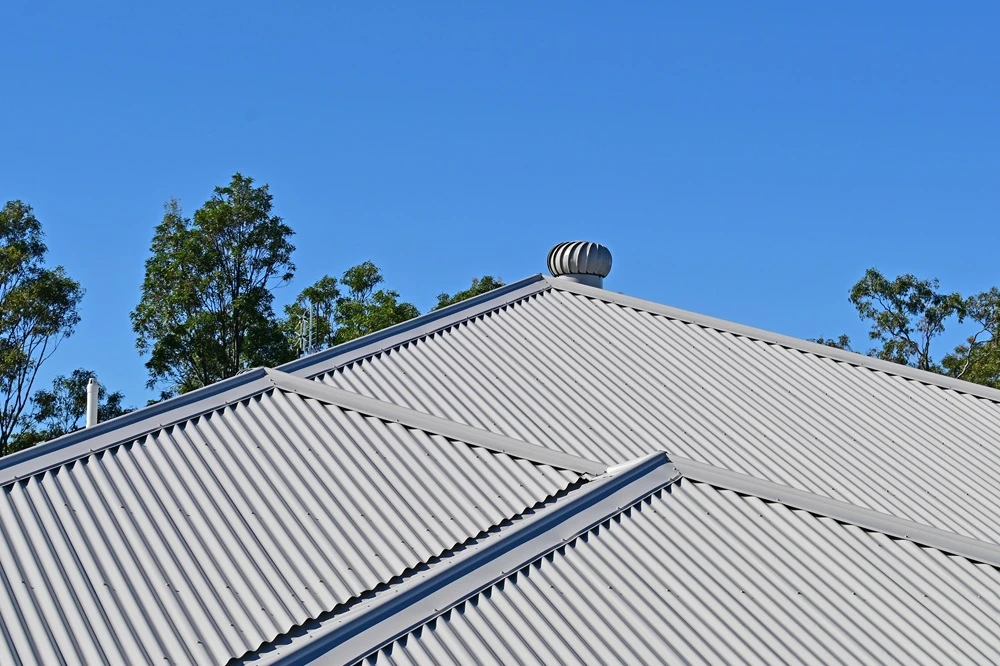
Ridge Cap Installation
Cut panels to stop about 2 inches below the ridge line for air circulation if using a ridge vent. Install the ridge cap over the panel ends, overlapping sections by at least 6 inches and securing with screws through both sides into the ridge board.
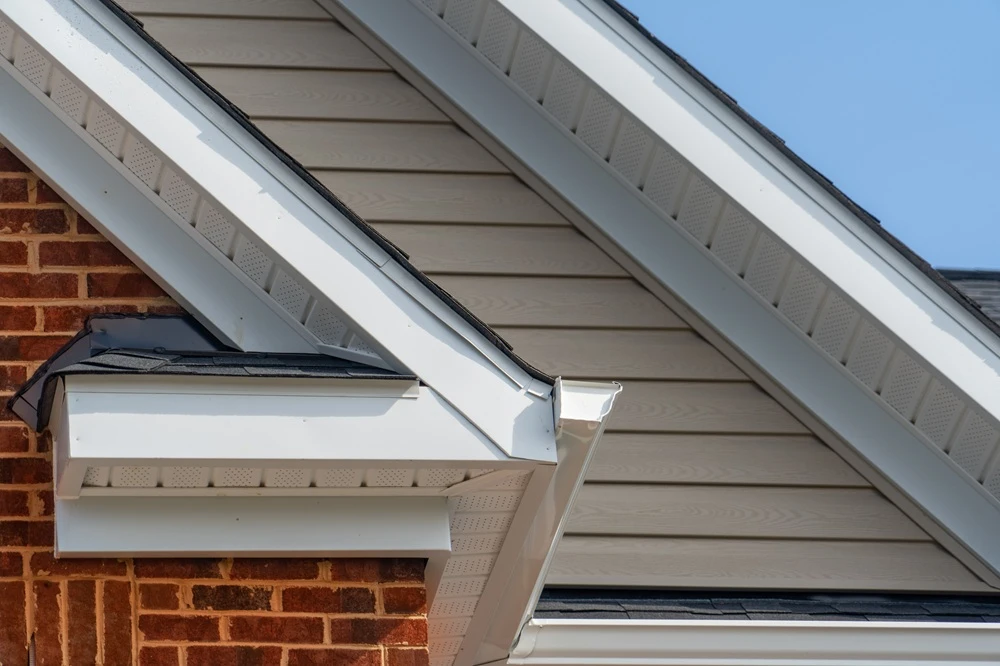
Final Trim and Transitions
Where the roof meets vertical walls, install wall flashing with standing seam metal panels sliding underneath to maintain expansion capability. Close the panel ends at the roof edges with matching end caps or hemmed edges to prevent water entry and pest infiltration. Apply sealant sparingly at trim piece junctions, panel ends, and penetration flashing.
Step 6: Inspection and Quality Control
Walk the completed roof to check for installation issues before you consider the project finished.
Check for Installation Issues
Verify that the seams are running in a straight line from eaves to ridge, as misaligned panels are visually distracting and can trap water along seams. Ensure every clip fully engages its panel, since partial engagement leads to wind damage and panel separation during thermal cycling. Check that screws sit flush without over-driving, as over-tightened fasteners dimple the metal and create stress points.
Test Water Runoff
Inspect all trim joints for complete butyl tape coverage and proper sealant application. If possible, test water flow by spraying the roof and watching how it moves across surfaces and through valleys. Water should flow smoothly without pooling or backing up under panel edges, and proper drainage should protect the entire roof from moisture damage.
Addressing Common Installation Problems
Proper installation is the ideal way to prevent most issues, but certain challenges warrant specific attention when installing standing seam panels.
Oil Canning Prevention
Oil canning creates visible waves across panel surfaces from over-constrained panels that can't move freely, poor handling during installation, or inadequate substrate support. Using proper clip spacing, handling metal panels carefully at their edges, and installing over solid decking minimizes the appearance of oil canning.
Managing Thermal Expansion
Metal panels expand in summer heat and contract in winter cold, with a 30-foot panel moving about half an inch over Tennessee's annual temperature range. Clips must allow this movement while maintaining panel attachment to the roof deck. Proper clip installation solves thermal expansion issues before they start, similar to techniques used in commercial roofing applications.
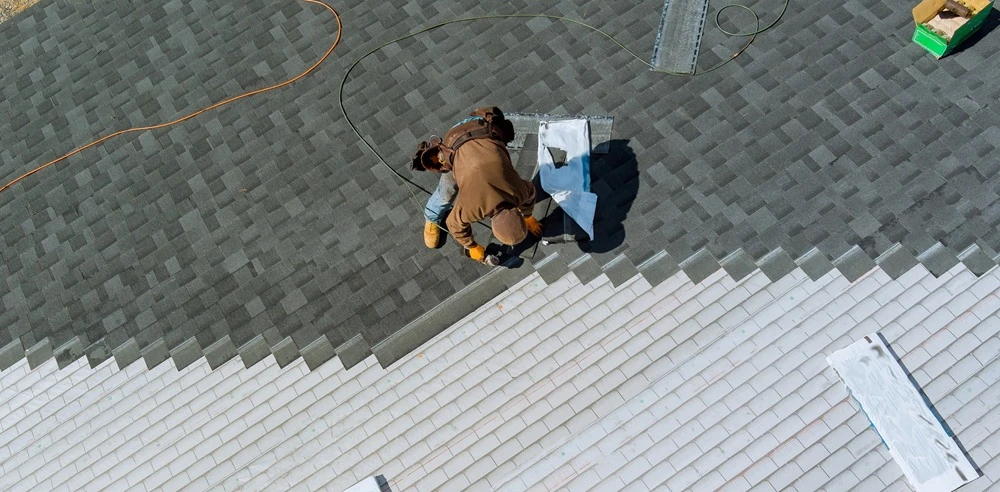
Scratch and Dent Protection
Metal roofing material scratches easily during installation, and scratches through paint expose bare metal that rusts. Only walk on roof panels when necessary, use soft-soled shoes, and place walk boards across multiple panels to distribute weight during the installation process.
Installation Complexity and Cost
Installing standing seam metal roof systems requires more precision than traditional roof replacement projects, affecting both DIY installation feasibility and professional costs.
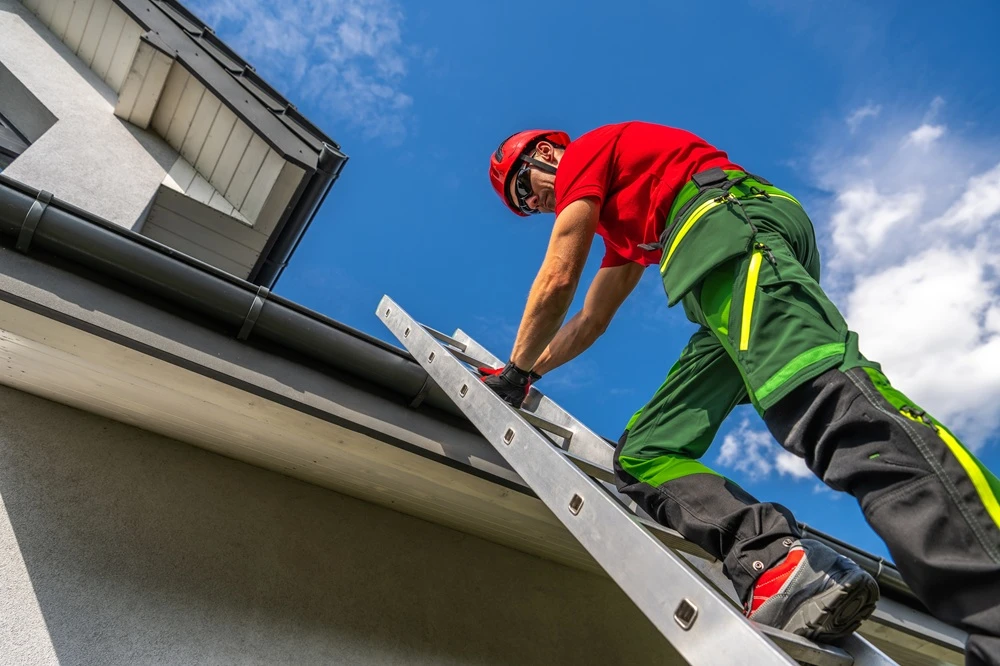
DIY vs. Professional Installation
Here are some factors to consider when deciding between DIY installation and hiring experienced contractors:
- Equipment requirements: Hand seamers, metal brakes, and specialized tools cost several hundred dollars.
- Physical demands: Handling full-width metal panels in the wind requires strength and coordination.
- Time investment: A 2,000-square-foot house takes experienced crews several days to complete.
- Technical complexity: Proper panel layout, clip spacing, and thermal expansion accommodation require expertise.
- Safety concerns: Working at height with sharp metal roofing material poses significant risks.
- Warranty implications: Many manufacturers require professional installation for warranty coverage.
You may watch an online video and think, “That looks easy”. In reality, installation requires precise measurements, clean cuts, and perfect panel alignment across large surfaces. Most homeowners don’t have the prep knowledge and specialized tools they need to achieve professional results.
Professional installers have the equipment, experience, and insurance to avoid mistakes and prevent expensive repairs.
Project Costs
The cost of a roofing system varies based on roof complexity, panel quality, and additional features like ridge vents. This investment includes metal panels, synthetic underlayment, trim pieces, and clips. Learn more about metal roof costs compared to shingles to understand the long-term value.